
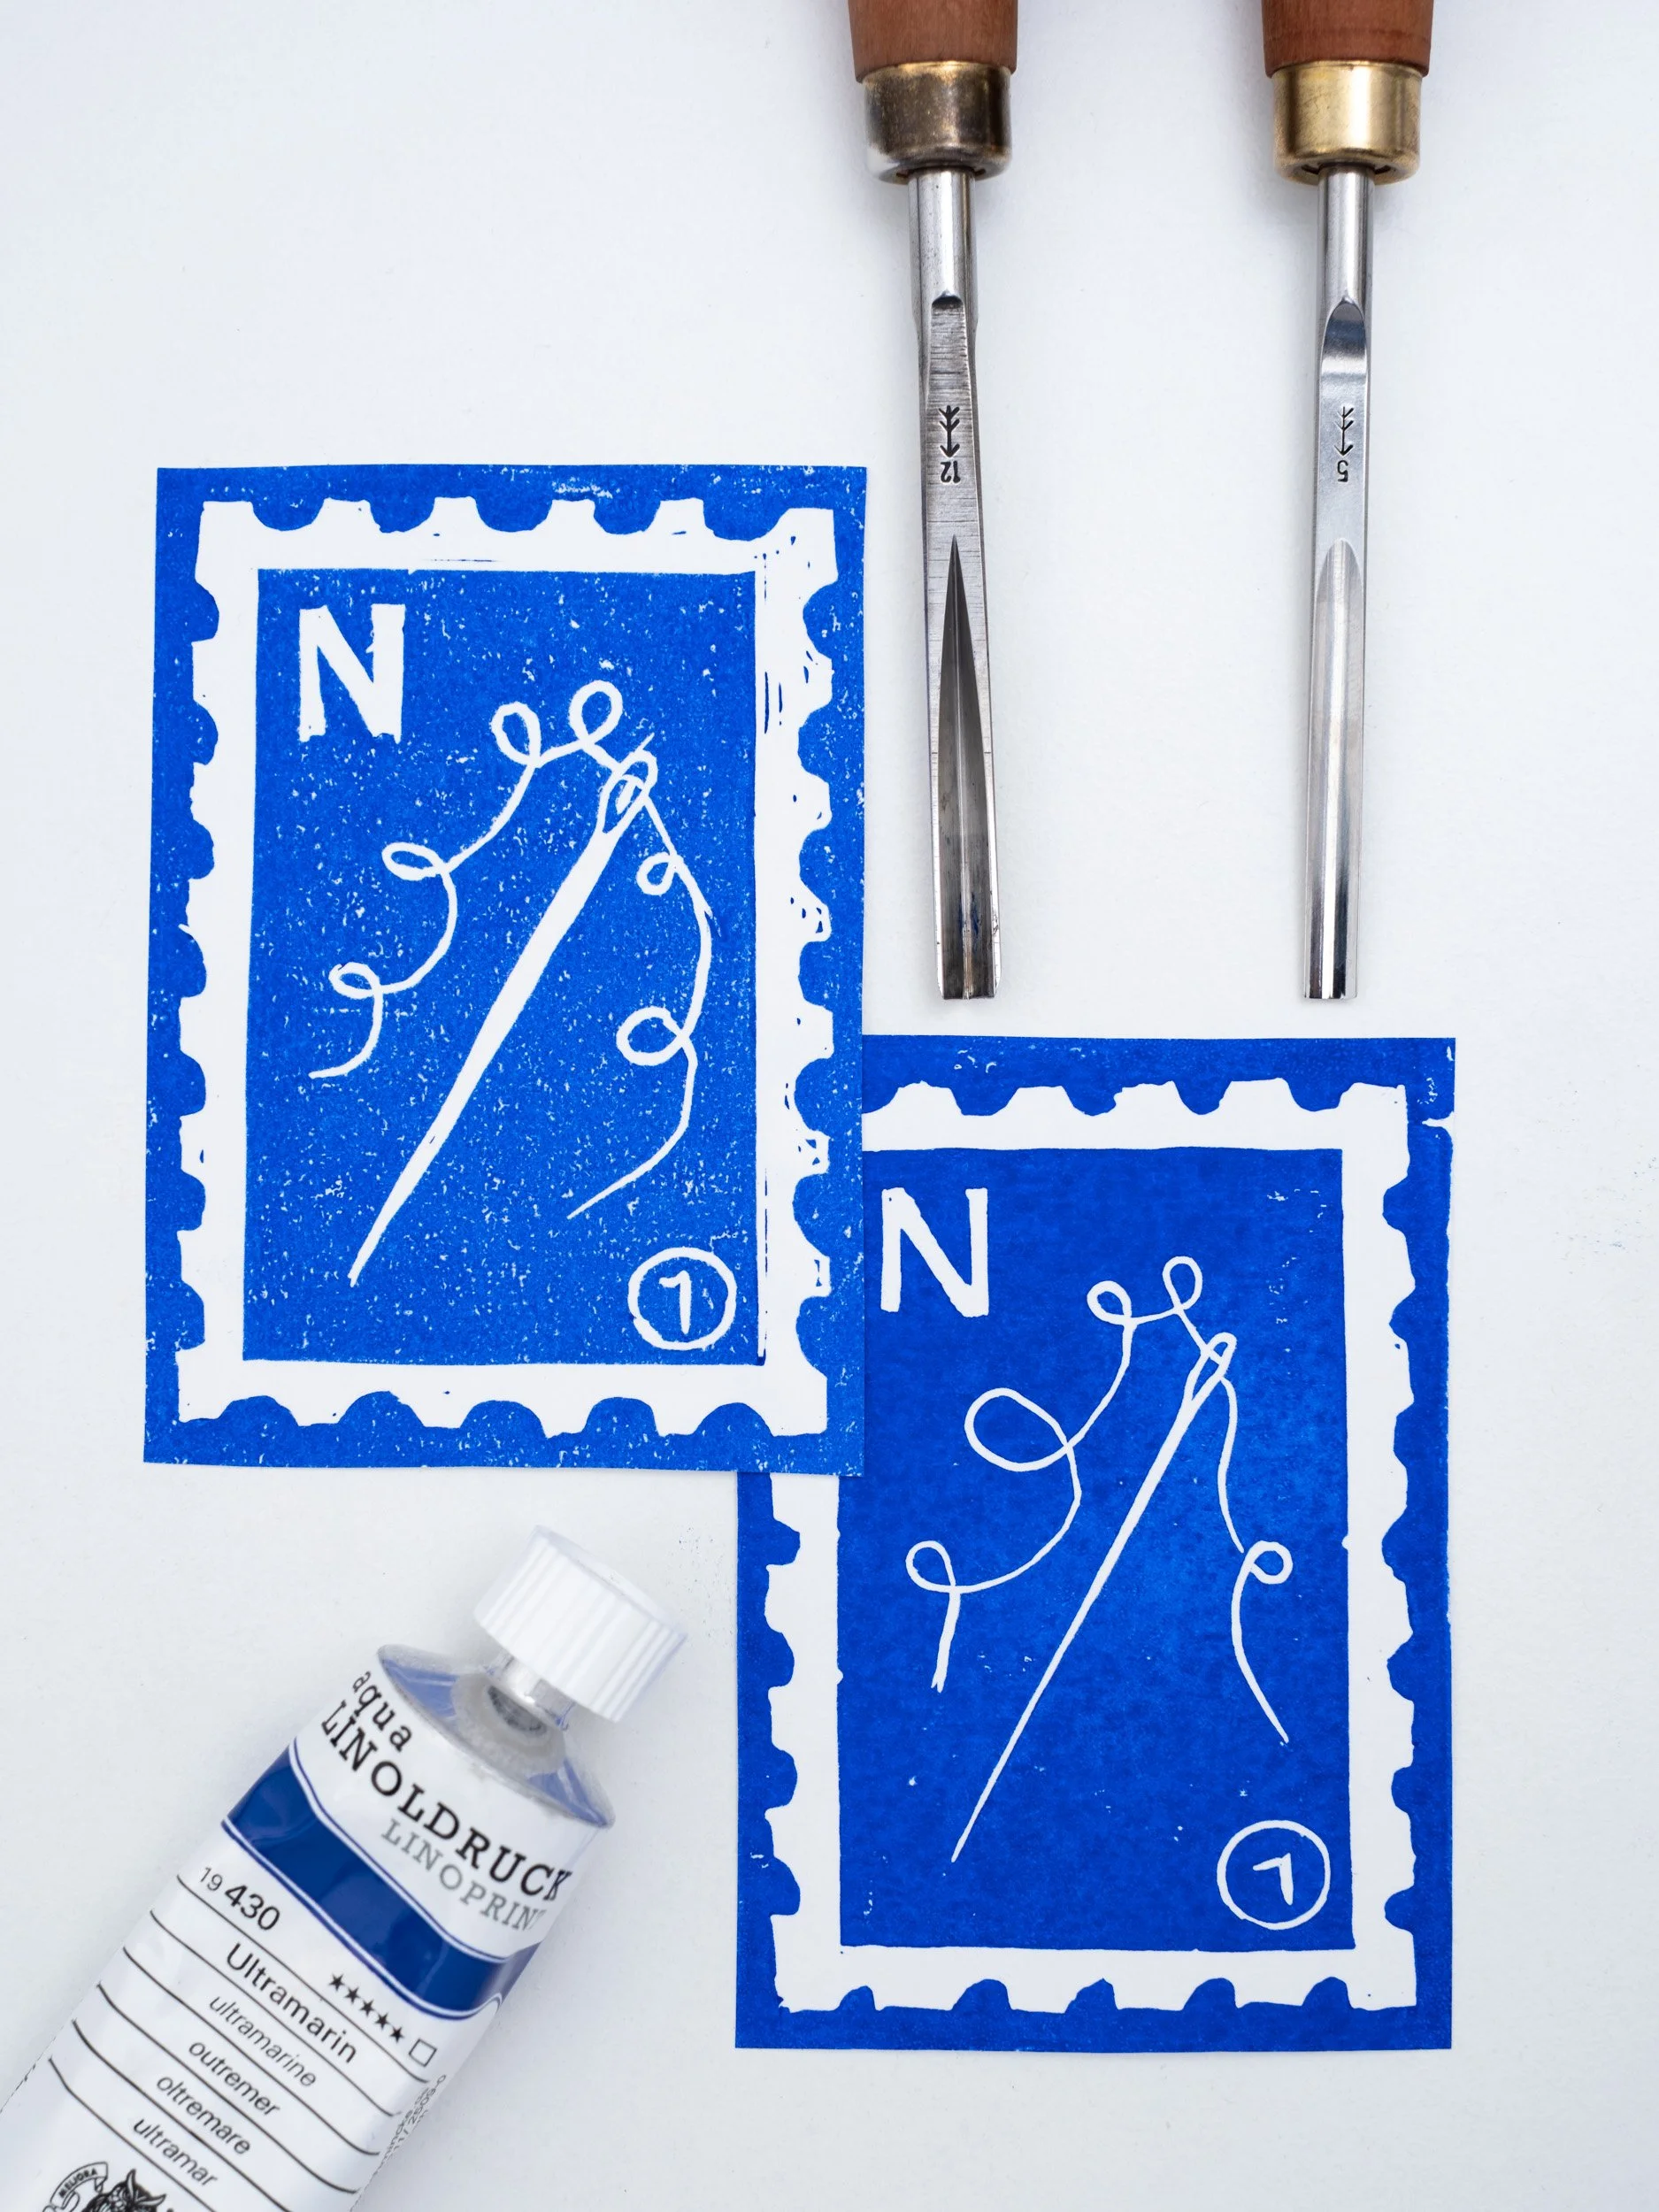
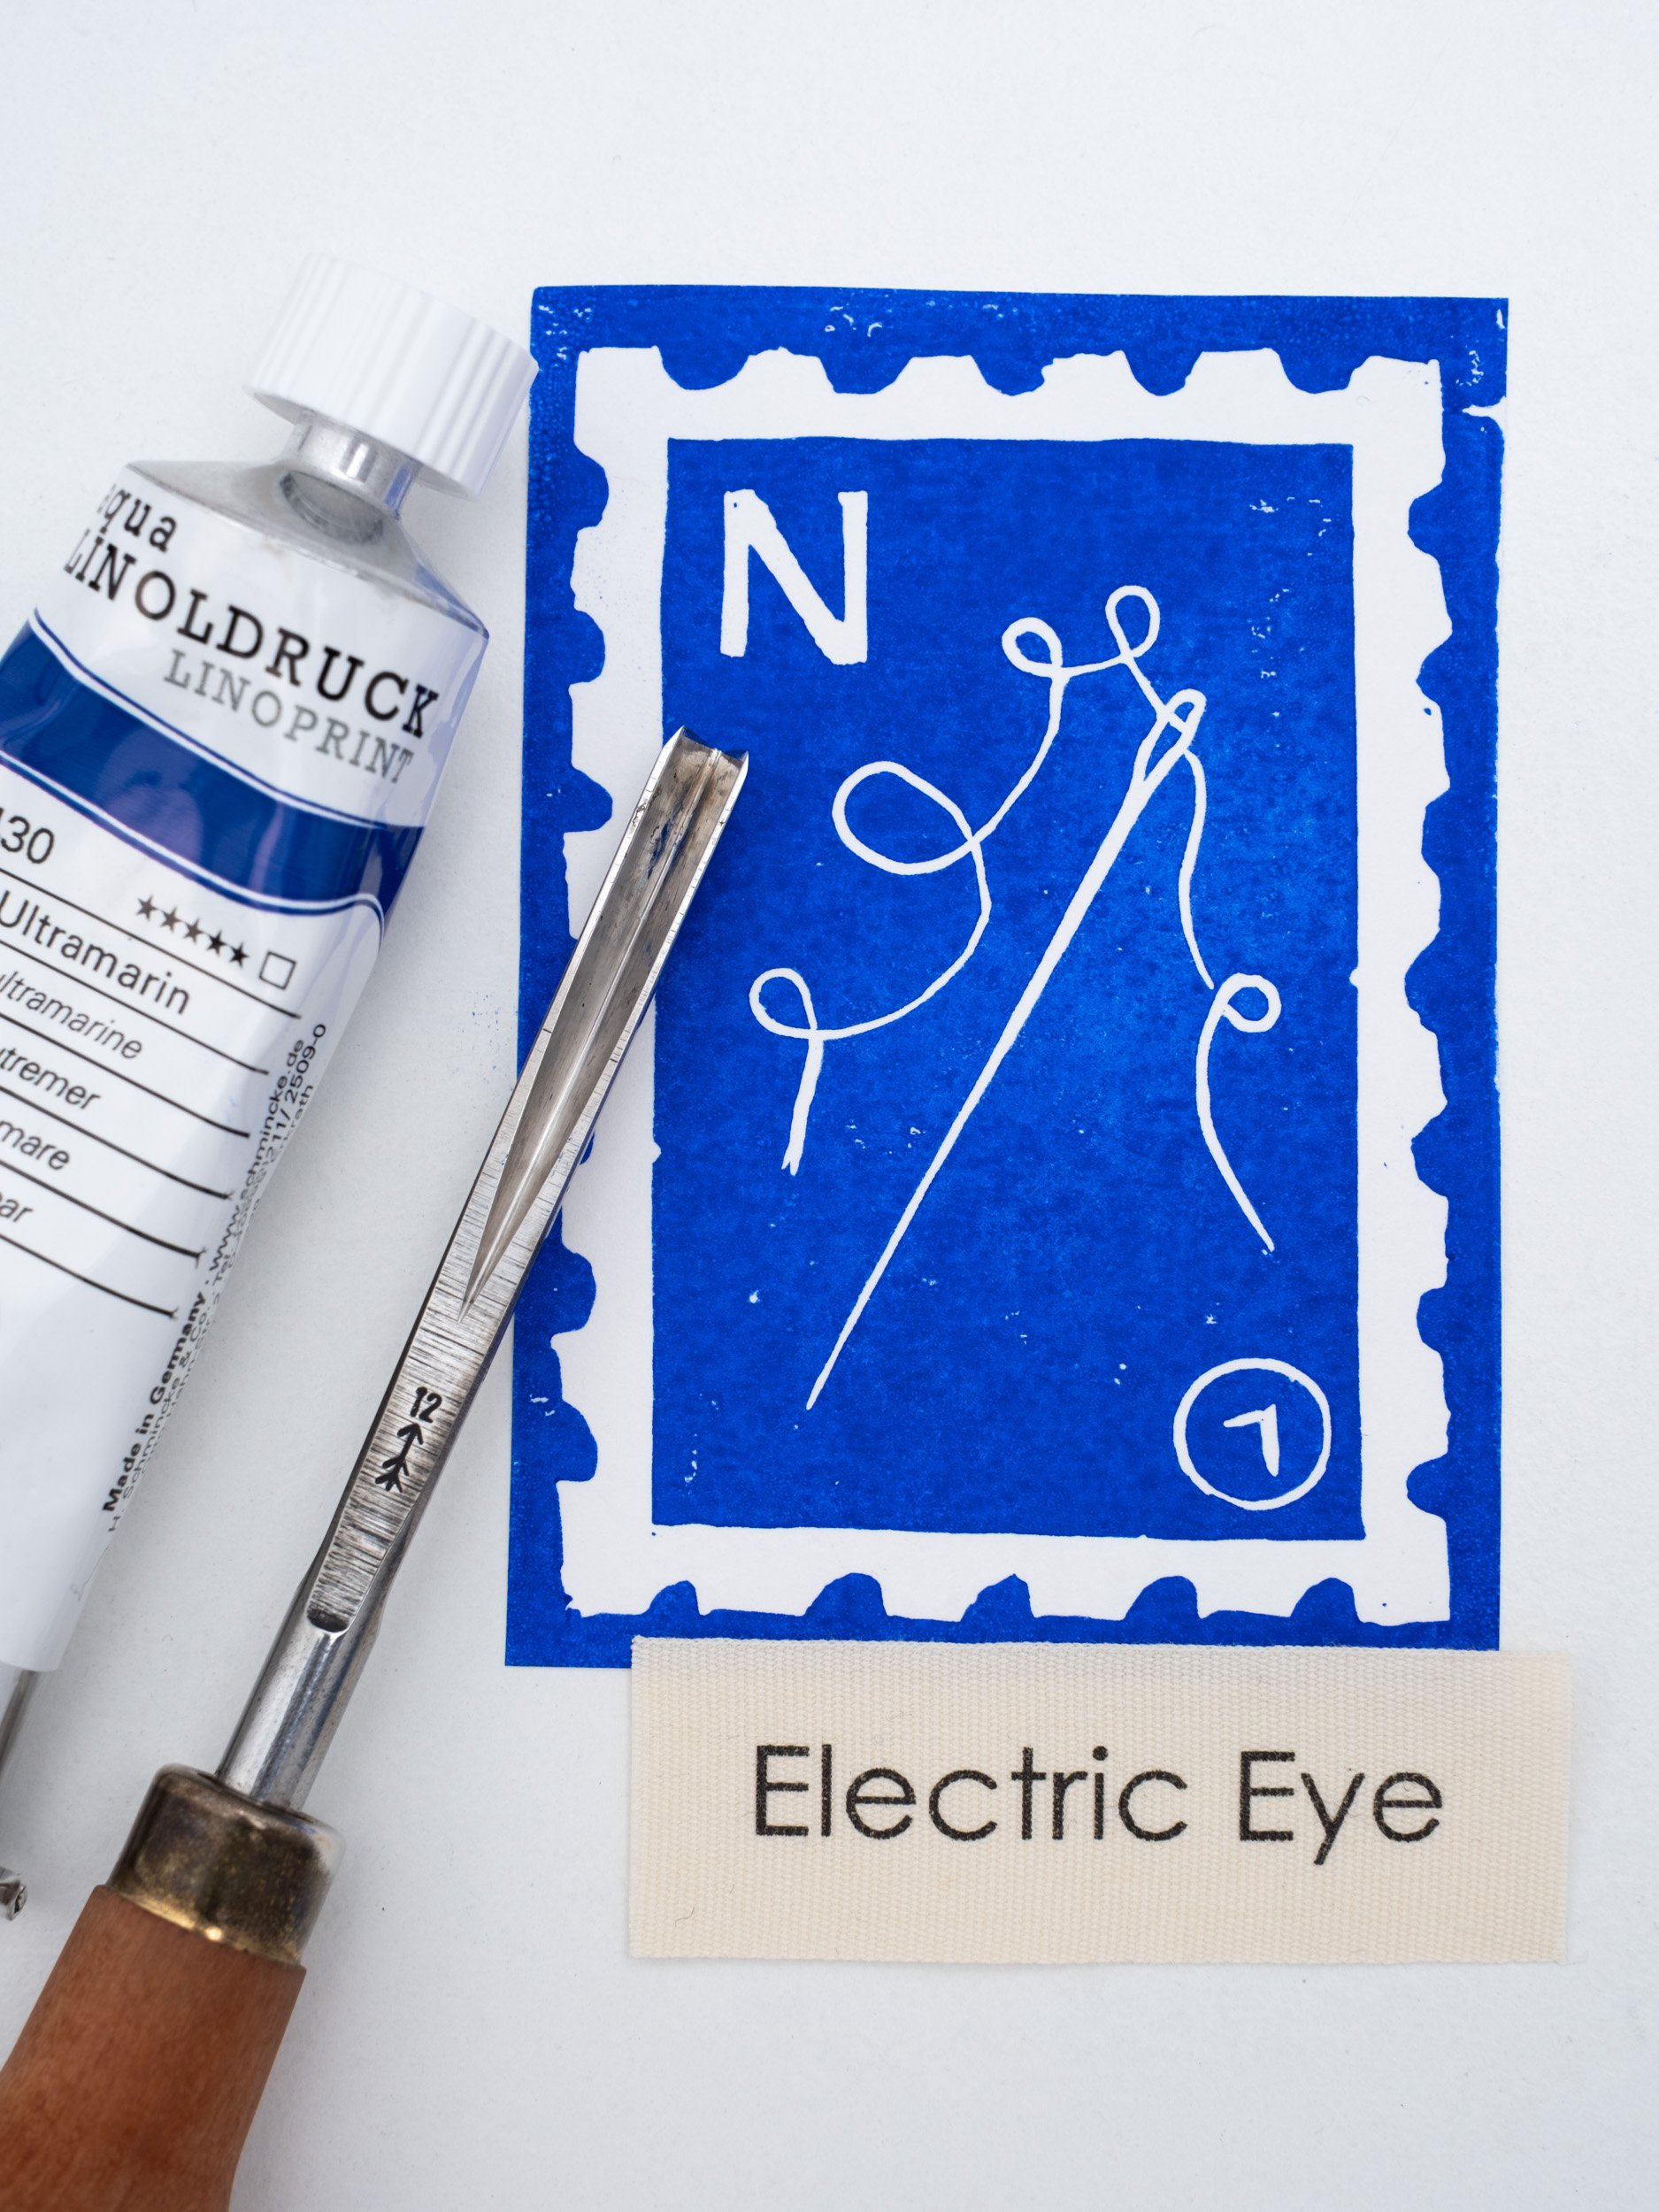
I love Lino printing for it’s simplicity, but of course it can also be rather complicated with reduction prints or a very complicated design. For this mini tutorial I’ll show you how to make a simple Lino print.
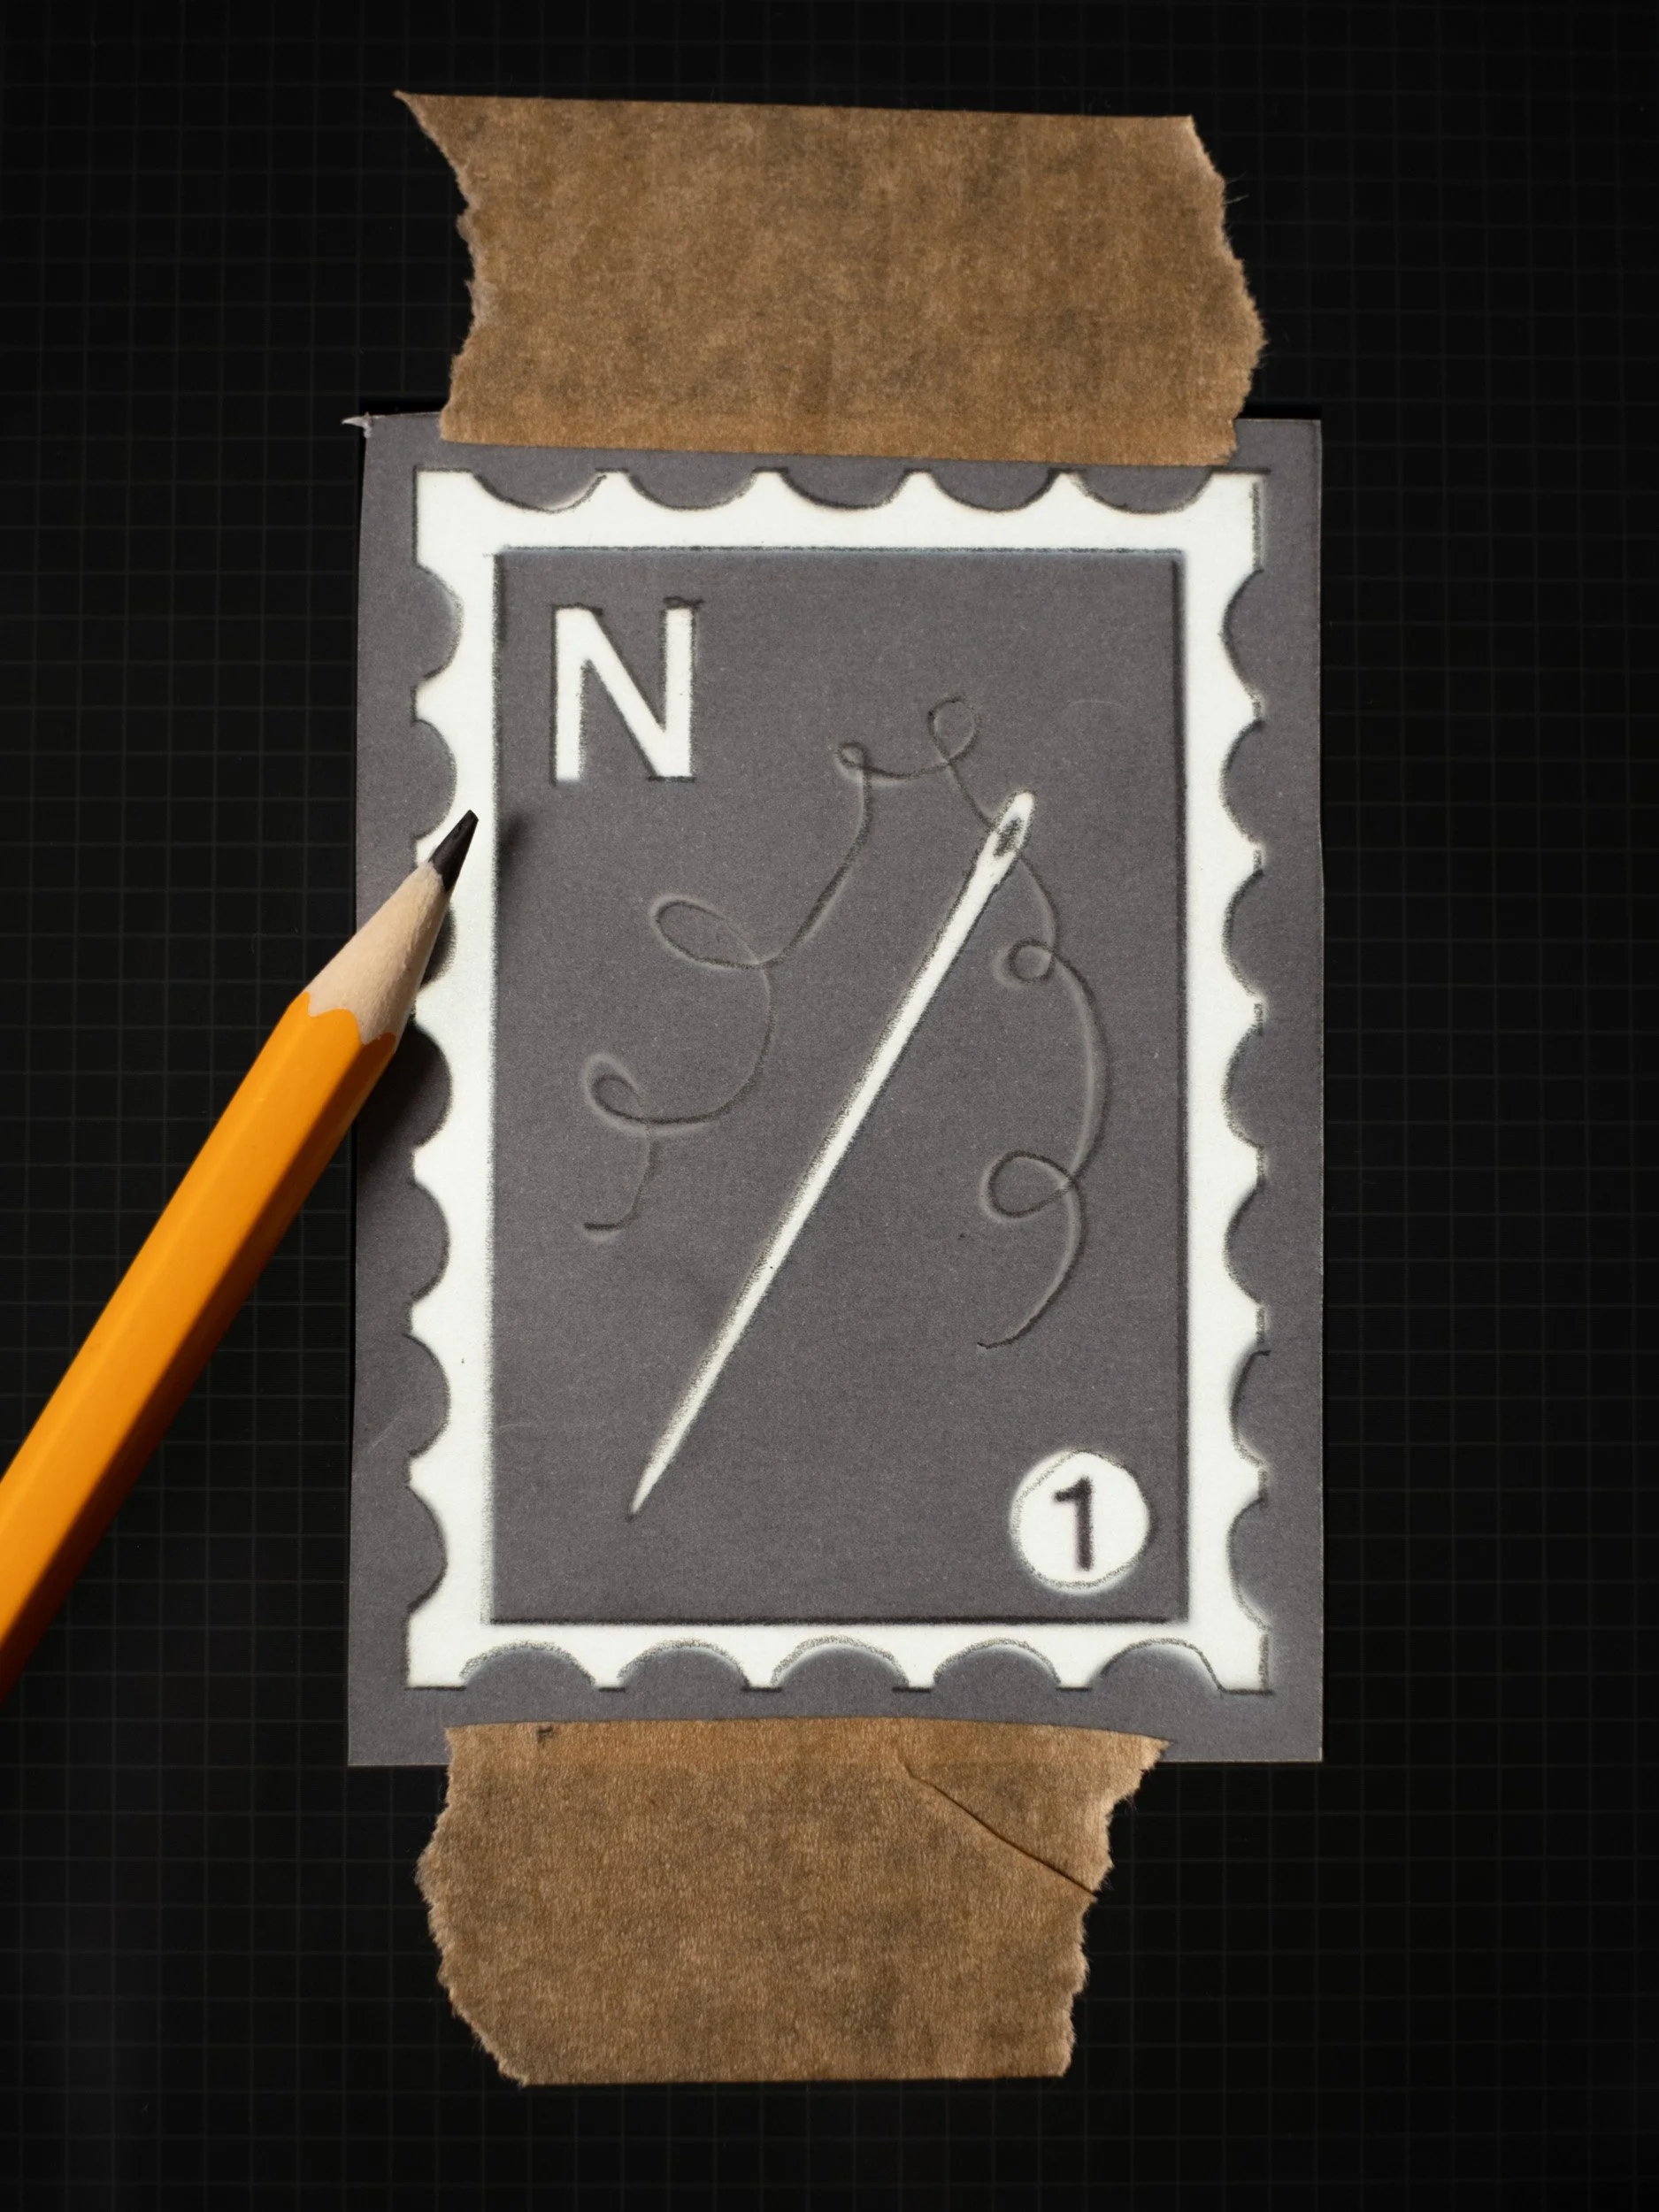
Step 1: Create your design, I’ve made mine in Procreate but you can drawn on paper or use a photo.
Step 2: Trace your design onto tracing paper using a pencil.
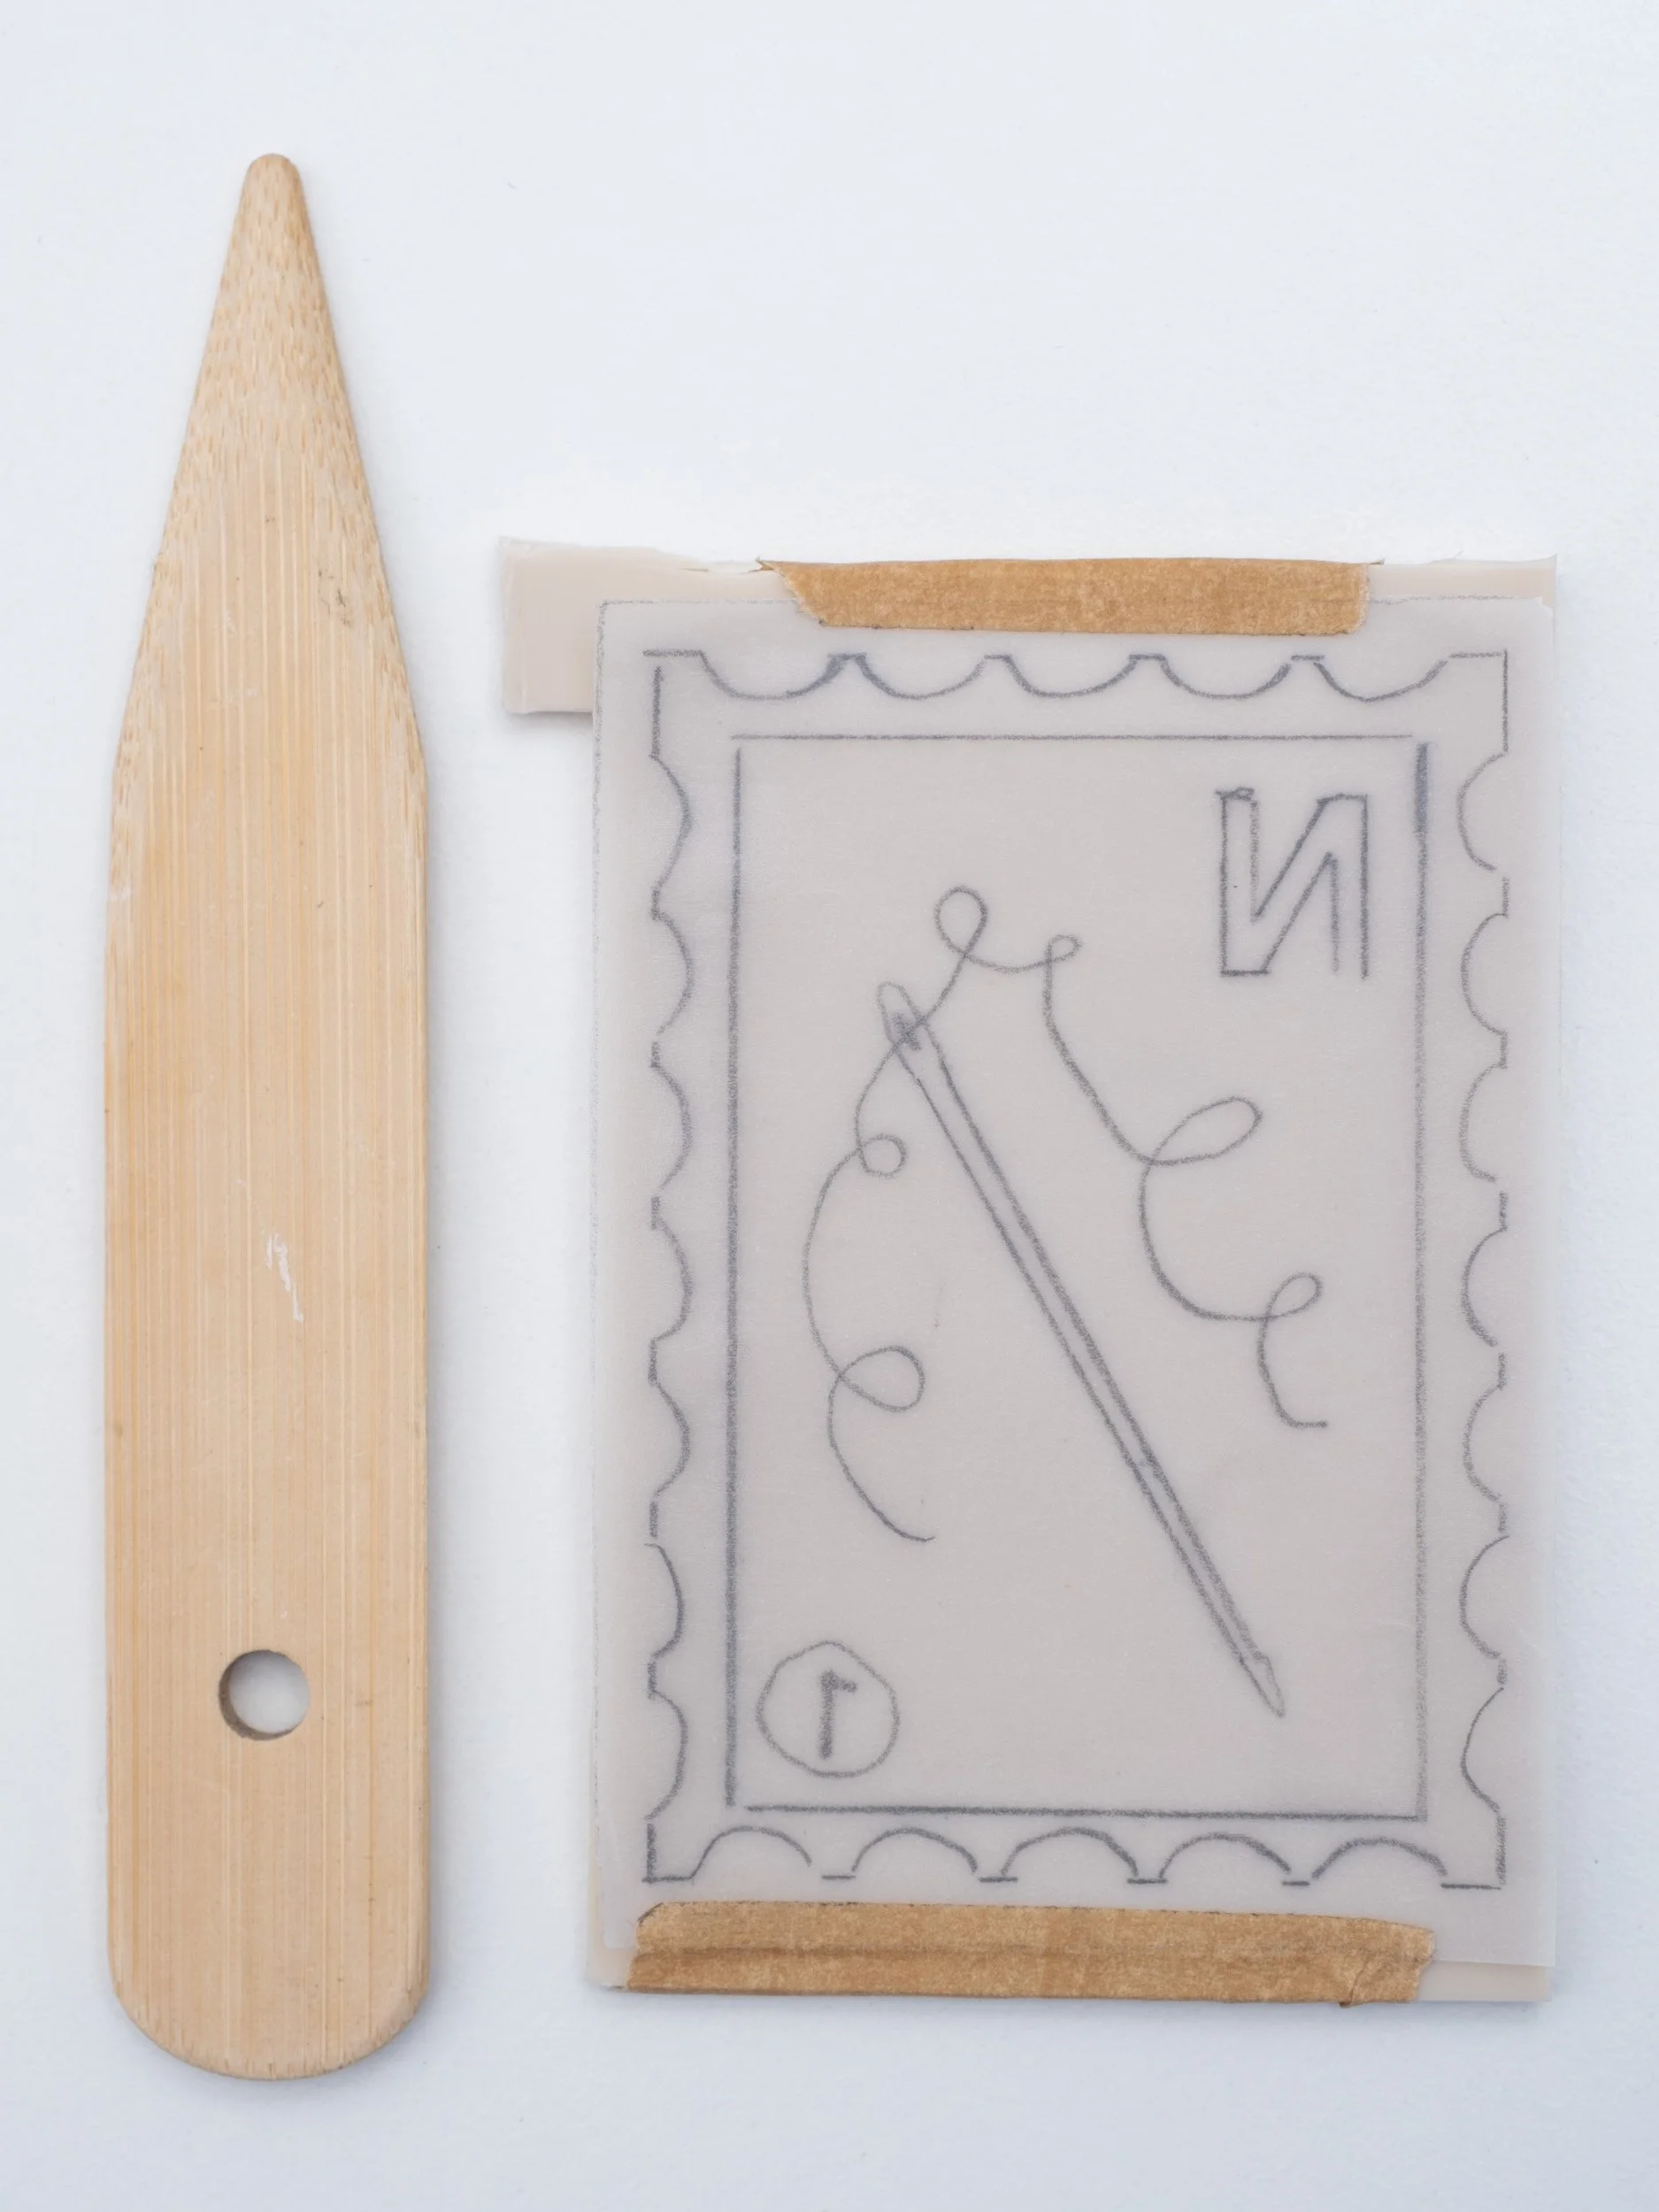
Step 3: Transfer your design to your block. I use a wooden Hera marker and just rub the back of the tracing paper with it. You can also use a pencil if you don’t have one of these. Remember to turn your tracing paper over so the pencil marks are facing the lino.
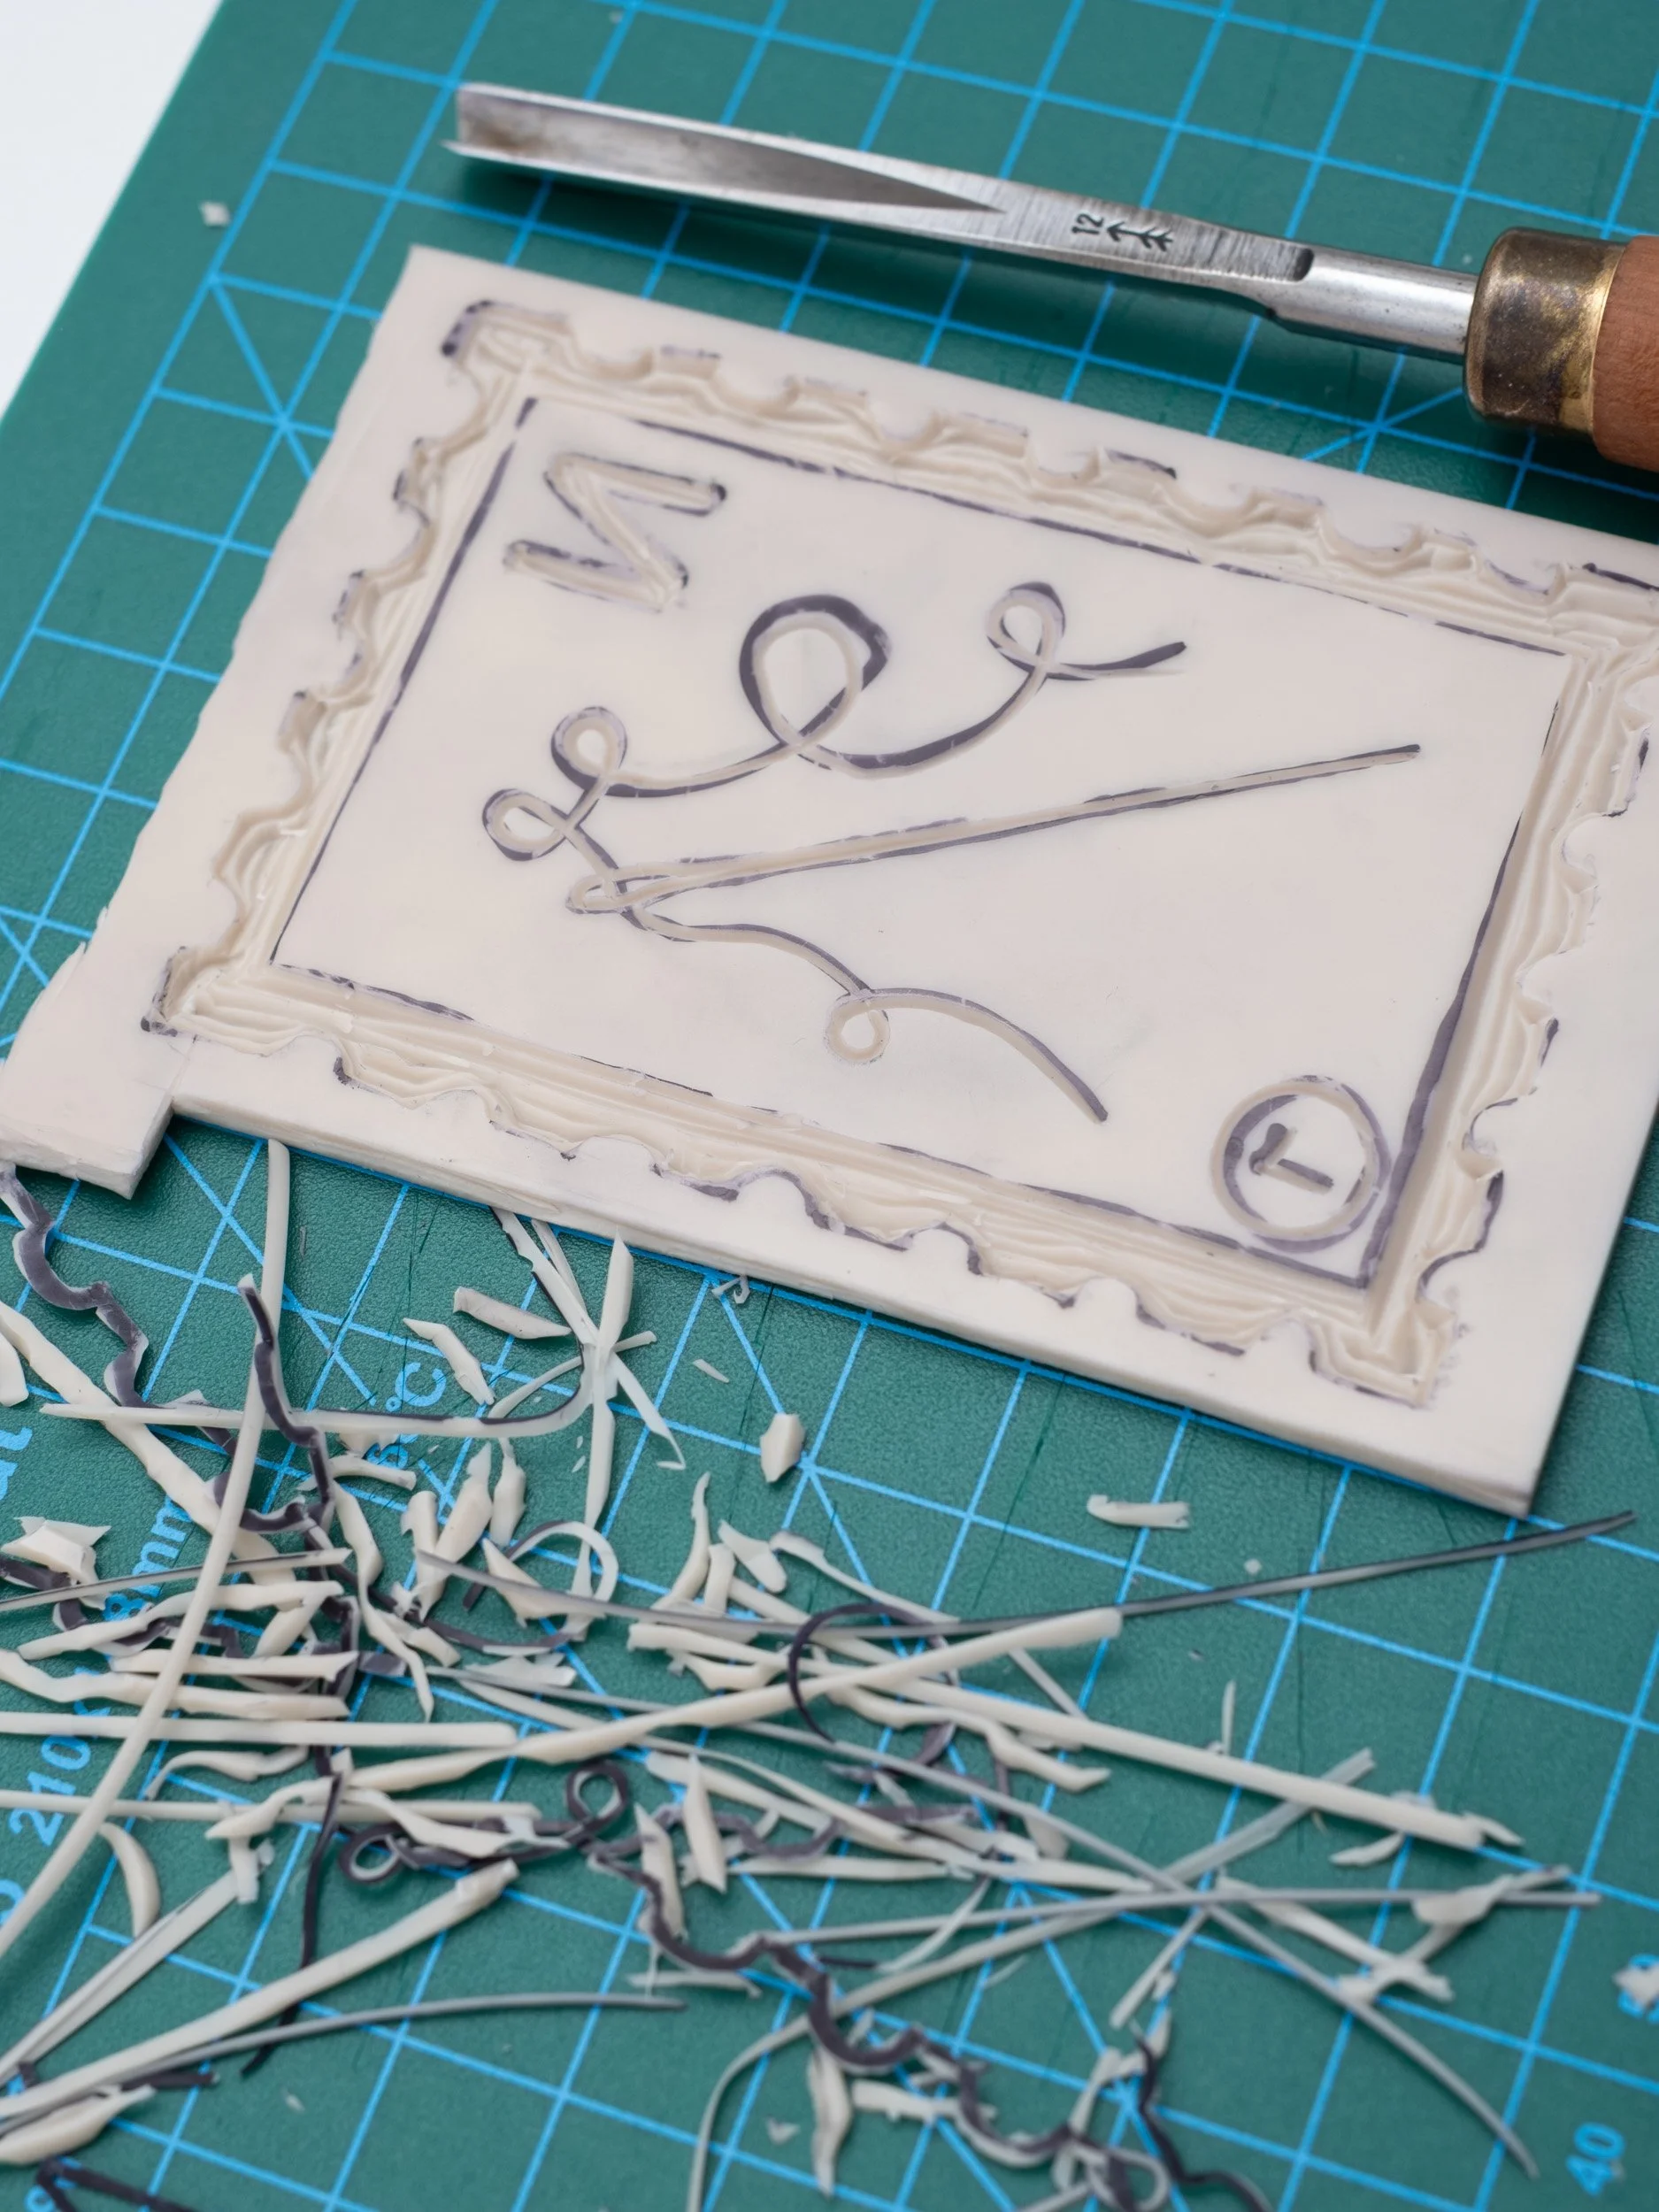
Step 4: Carve your design.
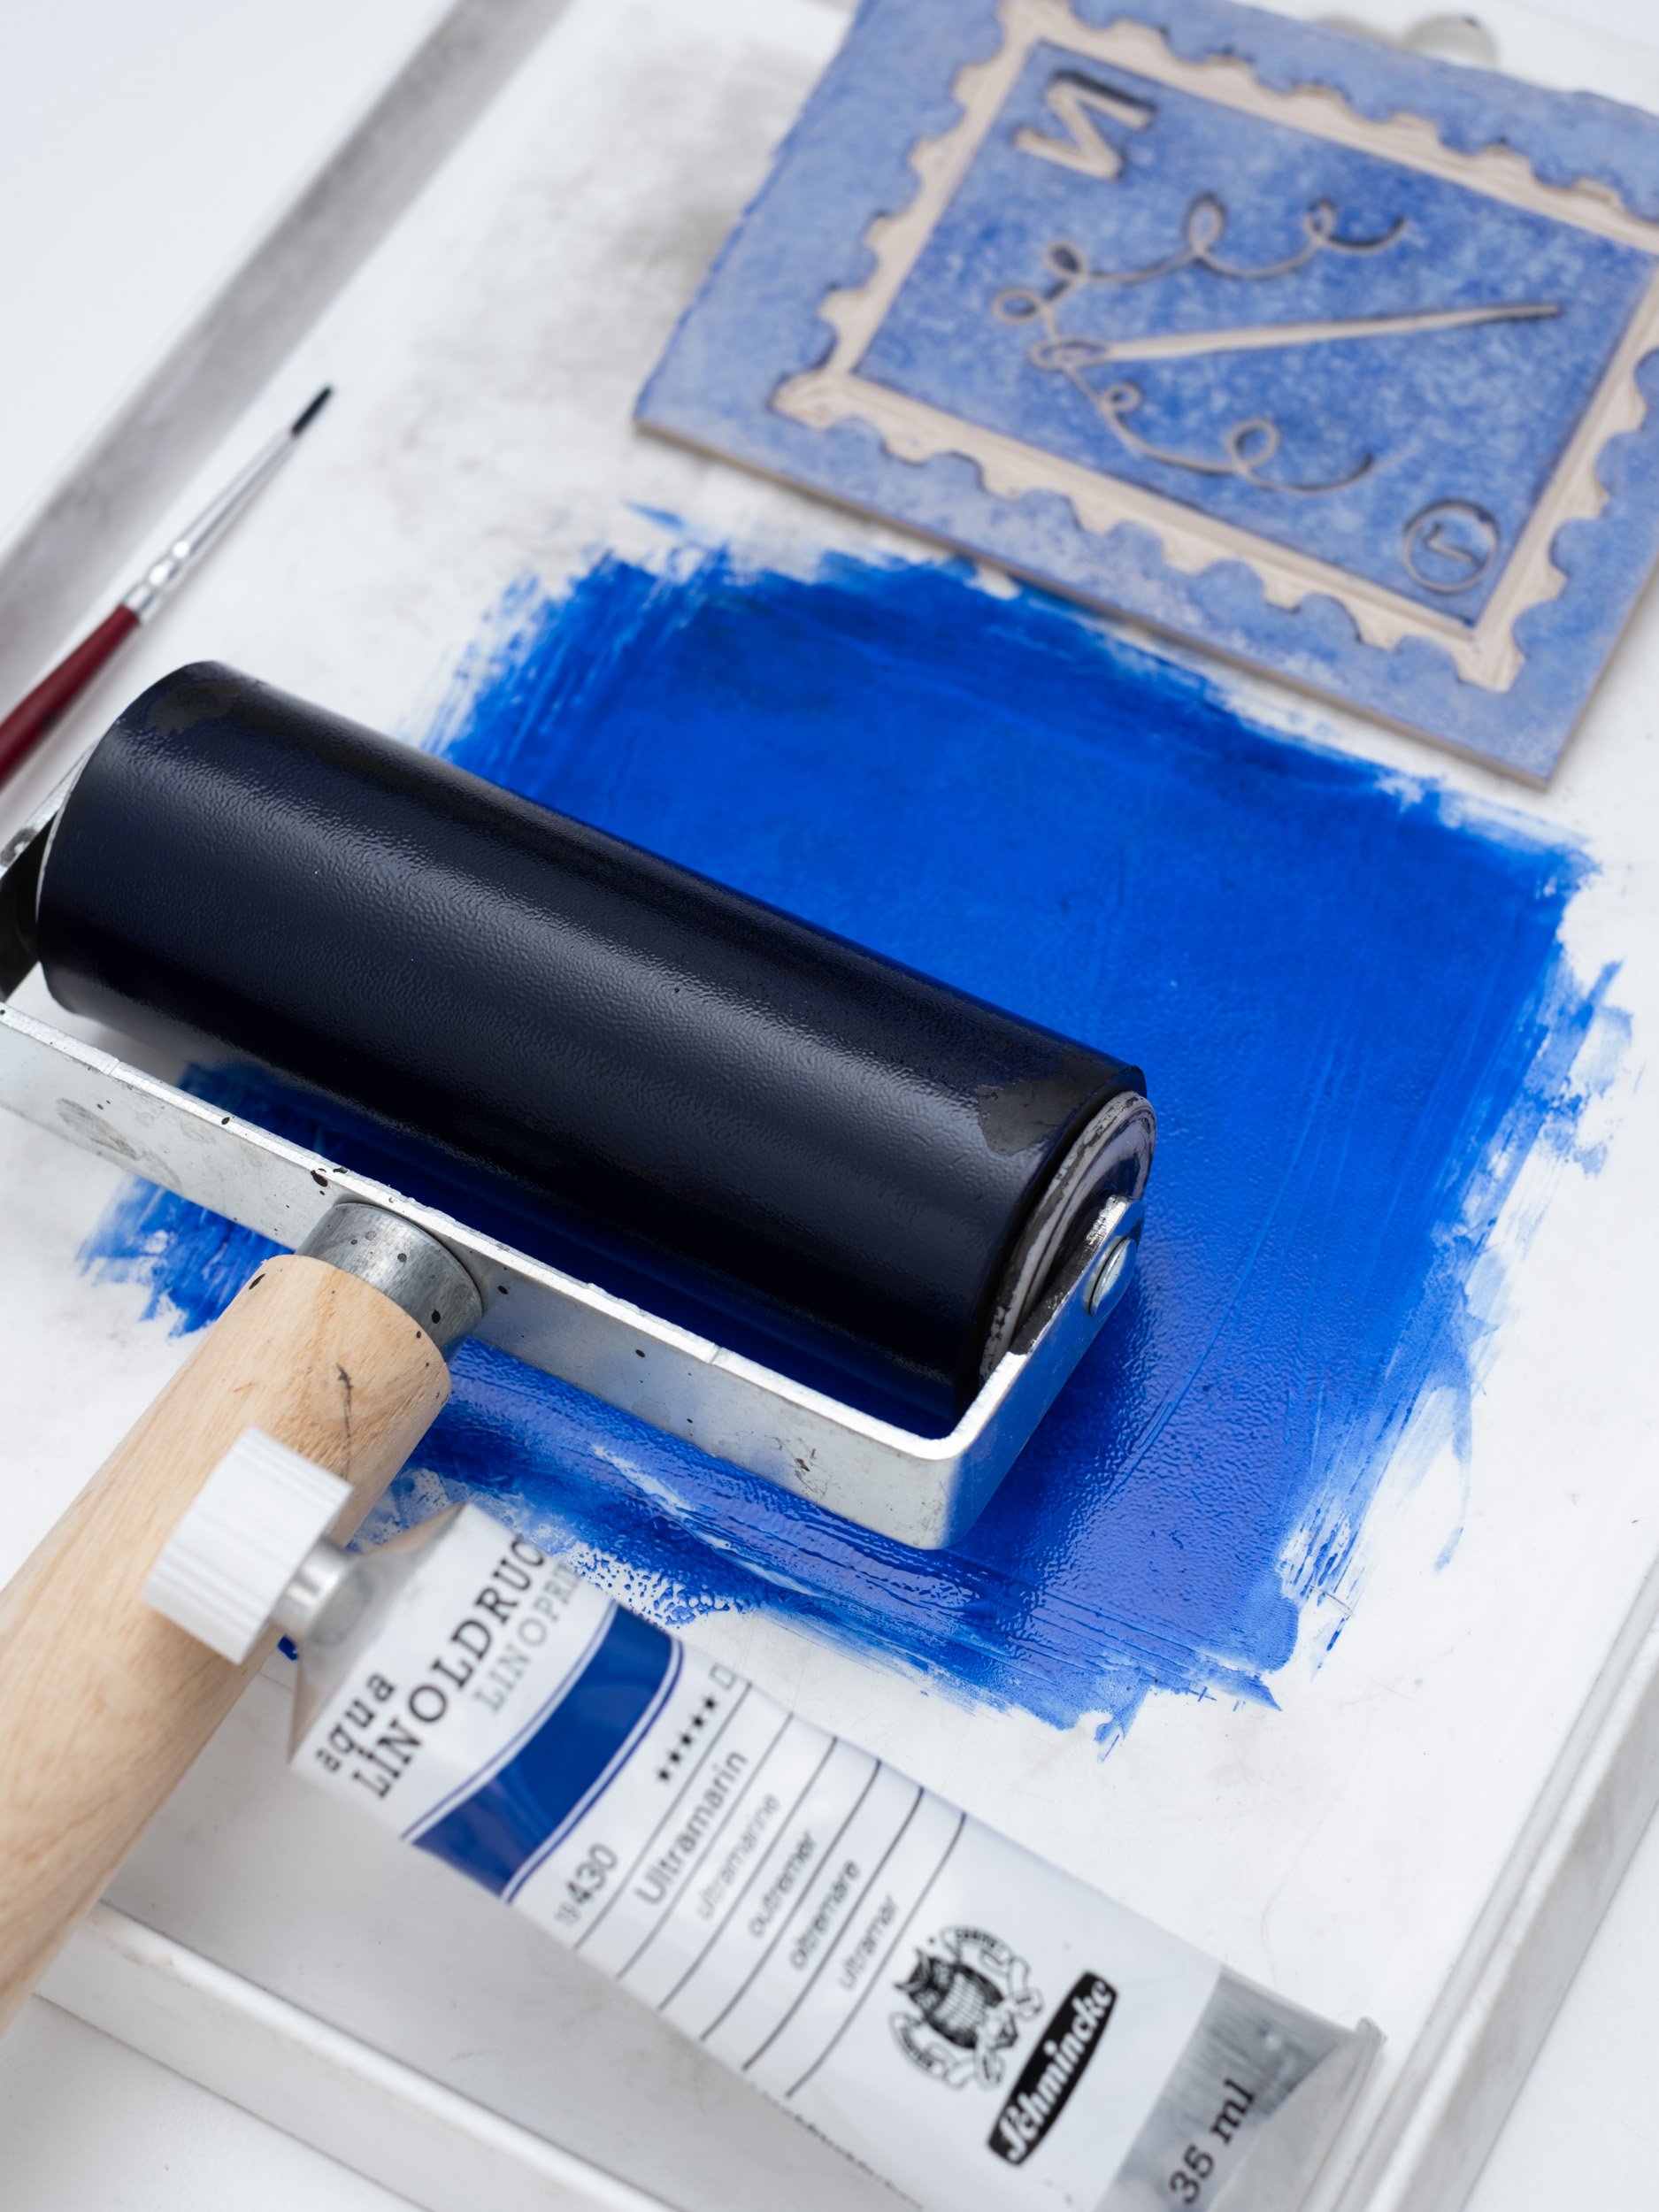
Step 5: Roll out your ink and pull your first print! Don’t worry if the first one isn’t perfect, they are a bit like making pancakes, they get better as you go!
Step 6: Optional - Refine and re-print. You may find little bits of lino you missed carving out, or parts of your design you want to change.
You’ll see I re-carved my block after my sewing needle was too thick, and there were little imperfections in the thread, and I’m much happier with the second version!
Tips!
Start small, this uses less lino, is quicker to carve, and if you’ve made a mistake it’s quicker to re-do.
Use simple lines to start with, straight lines are easier to carve than small curves.
Have a scrap of lino to test out the tool you’re using before cutting into your block.
Enjoy the slow process of a print coming to life, it will never be perfect and that’s part of the joy of lino printing.
